Authentication Proxy is a very useful cisco IOS Firewall Feature.
IMO, It is a more 'advanced' form of dynamic access-list.
Back with Dynamic access-lists, users were required to authenticate using Telnet and then the dynamic entry in the access-list is activated using the "access-enable" command. This can be automated using the autocommand feature either with the username command or under the line configuration.
Drawbacks of Dynamic access-list include;
1. It requires that the user first telnets into the router.
2. You can only have one dynamic entry line in an access list. The work around was normally to give access to a bastion host that is now used to access further resources (or to use)
3. You cannot have user specific (or group specific) profiles.
Documentation for dynamic access-list can be found
here.The IOS Auth-proxy feature was designed to fix these issues. It uses the ACS Server for Authentication and Authorization. Either the radius or tacacs+ server can be used for auth-proxy.
The IOS auth-proxy service uses user/group specific downloadable acls that is downloaded from the ACS server unto the router. This access-lists are specified on the AAA and attached to the auth-proxy service. This is implemented a little differently on the radius and the tacacs+ server.
On the Tacacs+ server, the auth-proxy service is first added, from the Interface Configuration Section, then access-list is specified under the user/group settings. The privilege level must be set to 15 for the access-list to be downloaded correctly. An example of the custom attributes of the auth-proxy service that would be defined in group settings would be:
proxyacl#1=permit ip any anyWith the Radius server, the downloadable access-list is set as the cisco-av-pair (9,1) as we would see in the example below.
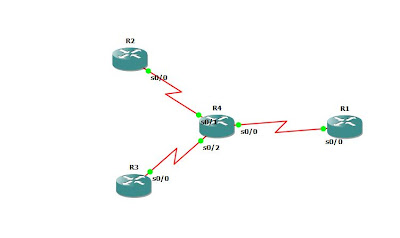
Assuming we have the topology below; We want to implement AP for users in the inside network. We would use telnet and http as our protocols for authentication.
Default configuration: interface FastEthernet0/0
ip address 10.10.10.1 255.255.255.0
ip access-group 101 in
interface FastEthernet1/0
ip address 192.168.1.1 255.255.255.0
access-list 101 permit ip host 10.10.10.5 host 10.10.10.1
access-list 101 deny ip any anyNote that the address of the ACS server is allowed to communicate with the router so that authentication can take place.
There are 5 steps in this configuration:
1. Configure AAA on the routerFW#sh run | i aaa
aaa new-model
aaa authentication login default group radius
aaa authentication login cons none
aaa authorization auth-proxy default group radius
radius-server host 10.10.10.5 auth-port 1645 acct-port 1646 key bauxiteThe 'cons' method is defined so as to exclude the console line from AAA authentication.
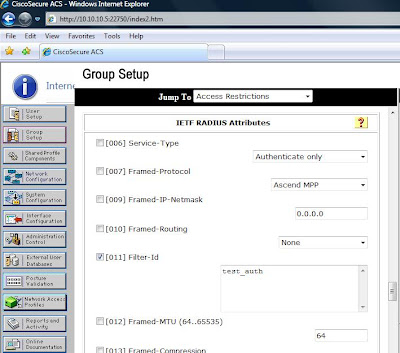
2. Configure AAA on the server. The radius configuration snapshot is shown below 3. Configure auth-proxy on the router.ip auth-proxy auth-proxy-banner http #Authenticate before Access....#
ip auth-proxy auth-proxy-banner telnet #Please Authenticate#
ip auth-proxy name test http inactivity-time 60
ip auth-proxy name test telnet inactivity-time 604. Configure http-server for http authentication process
ip http server ip http authentication aaa5. Apply Auth-proxy on the interface.int f0/0 ip auth-proxy testVerification:
From the Inside Router:
INSIDE#telnet 192.168.1.2
Trying 192.168.1.2 ... Open
Please Authenticate
Username:Amplebrain
Password:
Firewall authentication Success.
Connection will be closed if remote server does not respond
Connecting to remote server...
User Access Verification
Password:
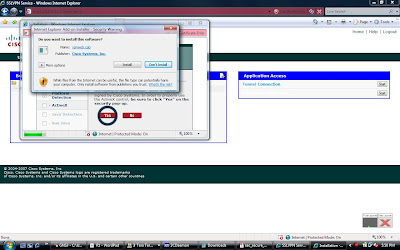
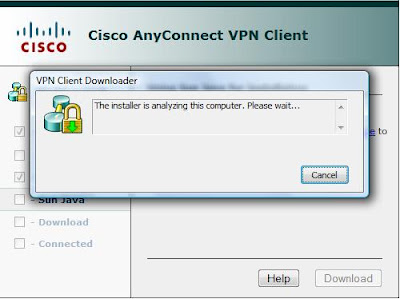
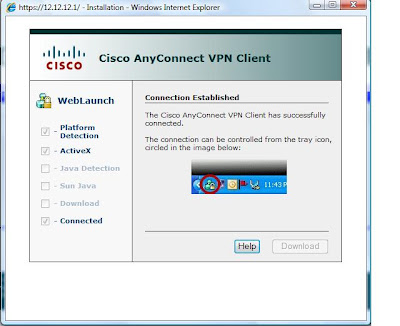
OUTSIDE>For http: Here are snapsots from the From the inside host:
After Authentication:

